For those who dont know what the Lamborghini Reventon is – its the most expensive sports car ever built; each costing 1 million Euros + tax. Only 20 were to be produced. I have the honor of being one of the proud owners – no kidding! Well with a slight difference – its a 1/43 scale model 
Ok, so much in praise of the Reventon and its exclusivity. Its here on my photography blog, so you know what I am coming to – obviously, I photographed the car. The objective of the project was to produce 3-4 images that would be worthy of an ad-campaign. The challenge here was the size of the car. Its really tiny and being a race car, its belly almost touches the ground.
I had a few concepts in mind. I started off with the simplest one – showing the car’s impressive bonnet and the front air inlets with a nice soft light over the bonnet and wind shield with a hard falloff on the front lower elements. This was pretty easy to do. I placed the car over a black base (a cardboard box pasted with a black cardboard sheet). The camera was on a tripod as this had to be a long exposure shot. The lens axis was aligned to just under the car’s windshield. The whole setup was in a room in the evening so with all lights turned off, it was pitch dark. The lighting was unconventional – I used a single small bright led light, straight from the top of the car (perpendicular to camera axis). I used RS80N3 cable to activate the shutter while hand-holding the led light over the car. The glowing lights were added in post processing. The exposure: 4 sec at f11 ISO 200 with EF 85mm f1.8 lens and Canon 7D.

Reventon in spot light
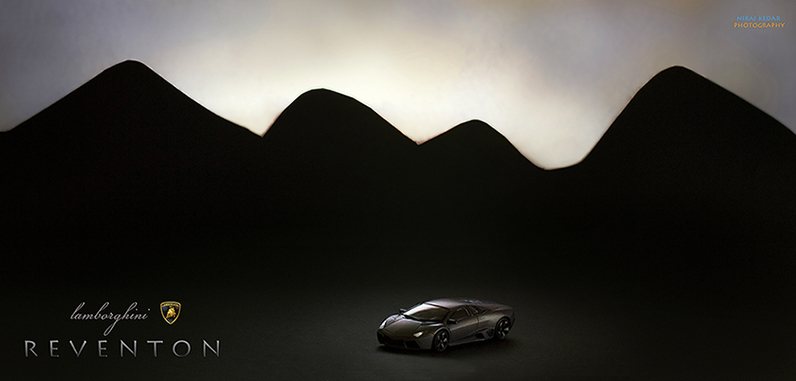
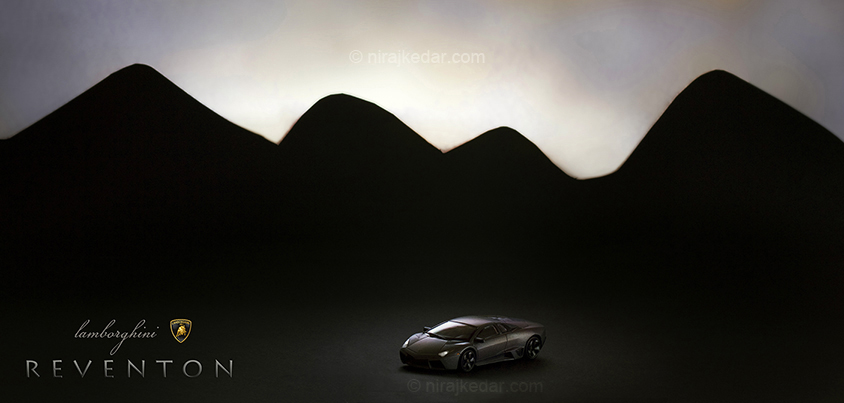
All Reventons have the exact same body paint – a dark shade of smoky grey, no mirror finish – remember the F117 stealth bomber?. For the second shot, I wanted to have a prop for the background. The car would be the focus, but I wanted to give a sense of place to the image. I started with a black cardboard and cut the top of it to look like rolling hills. This would be my backdrop. A white cardboard sheet just behind the black and pulled above would be the sky. The scene I wanted to portray is of evening in the hills with the sun just at the horizon and casting just enough light on the car in the foreground. My 580 EXII was fired with a grid snoot from behind the white paper – such that it lit the paper as well as some light fall on the car. I placed another white sheet to the side on camera right. This was used to reflect light off from a small led light over to the wheels and side of the car, which otherwise would be pitch dark. The camera was set for 15 second long exposures, in a dark room, with mirror locked and triggered with a Canon RS 80N3. The flash was fired manually with a cactus v4 radio trigger. I held the trigger master in my hand and after pressing the cable release, pressed the trigger at 1-1.5 second intervals. All this while I was holding the led light in my other hand and pointing it on the paper to the side. Quite a feat isnt it?.. This is what the prop looked like. Notice the bluish cast that the white paper gives.. This had to be color corrected in pp in the actual shot. Obviously this shot was taken a lil later and the cornflakes box is just there to illustrate.

Rolling hills prop
Heres the final one. Exposure: 15 sec at f8.0, ISO 125 and flash fired manually at 1 sec interval. EF 85 1.8, Canon 7D.

Reventon - hill side
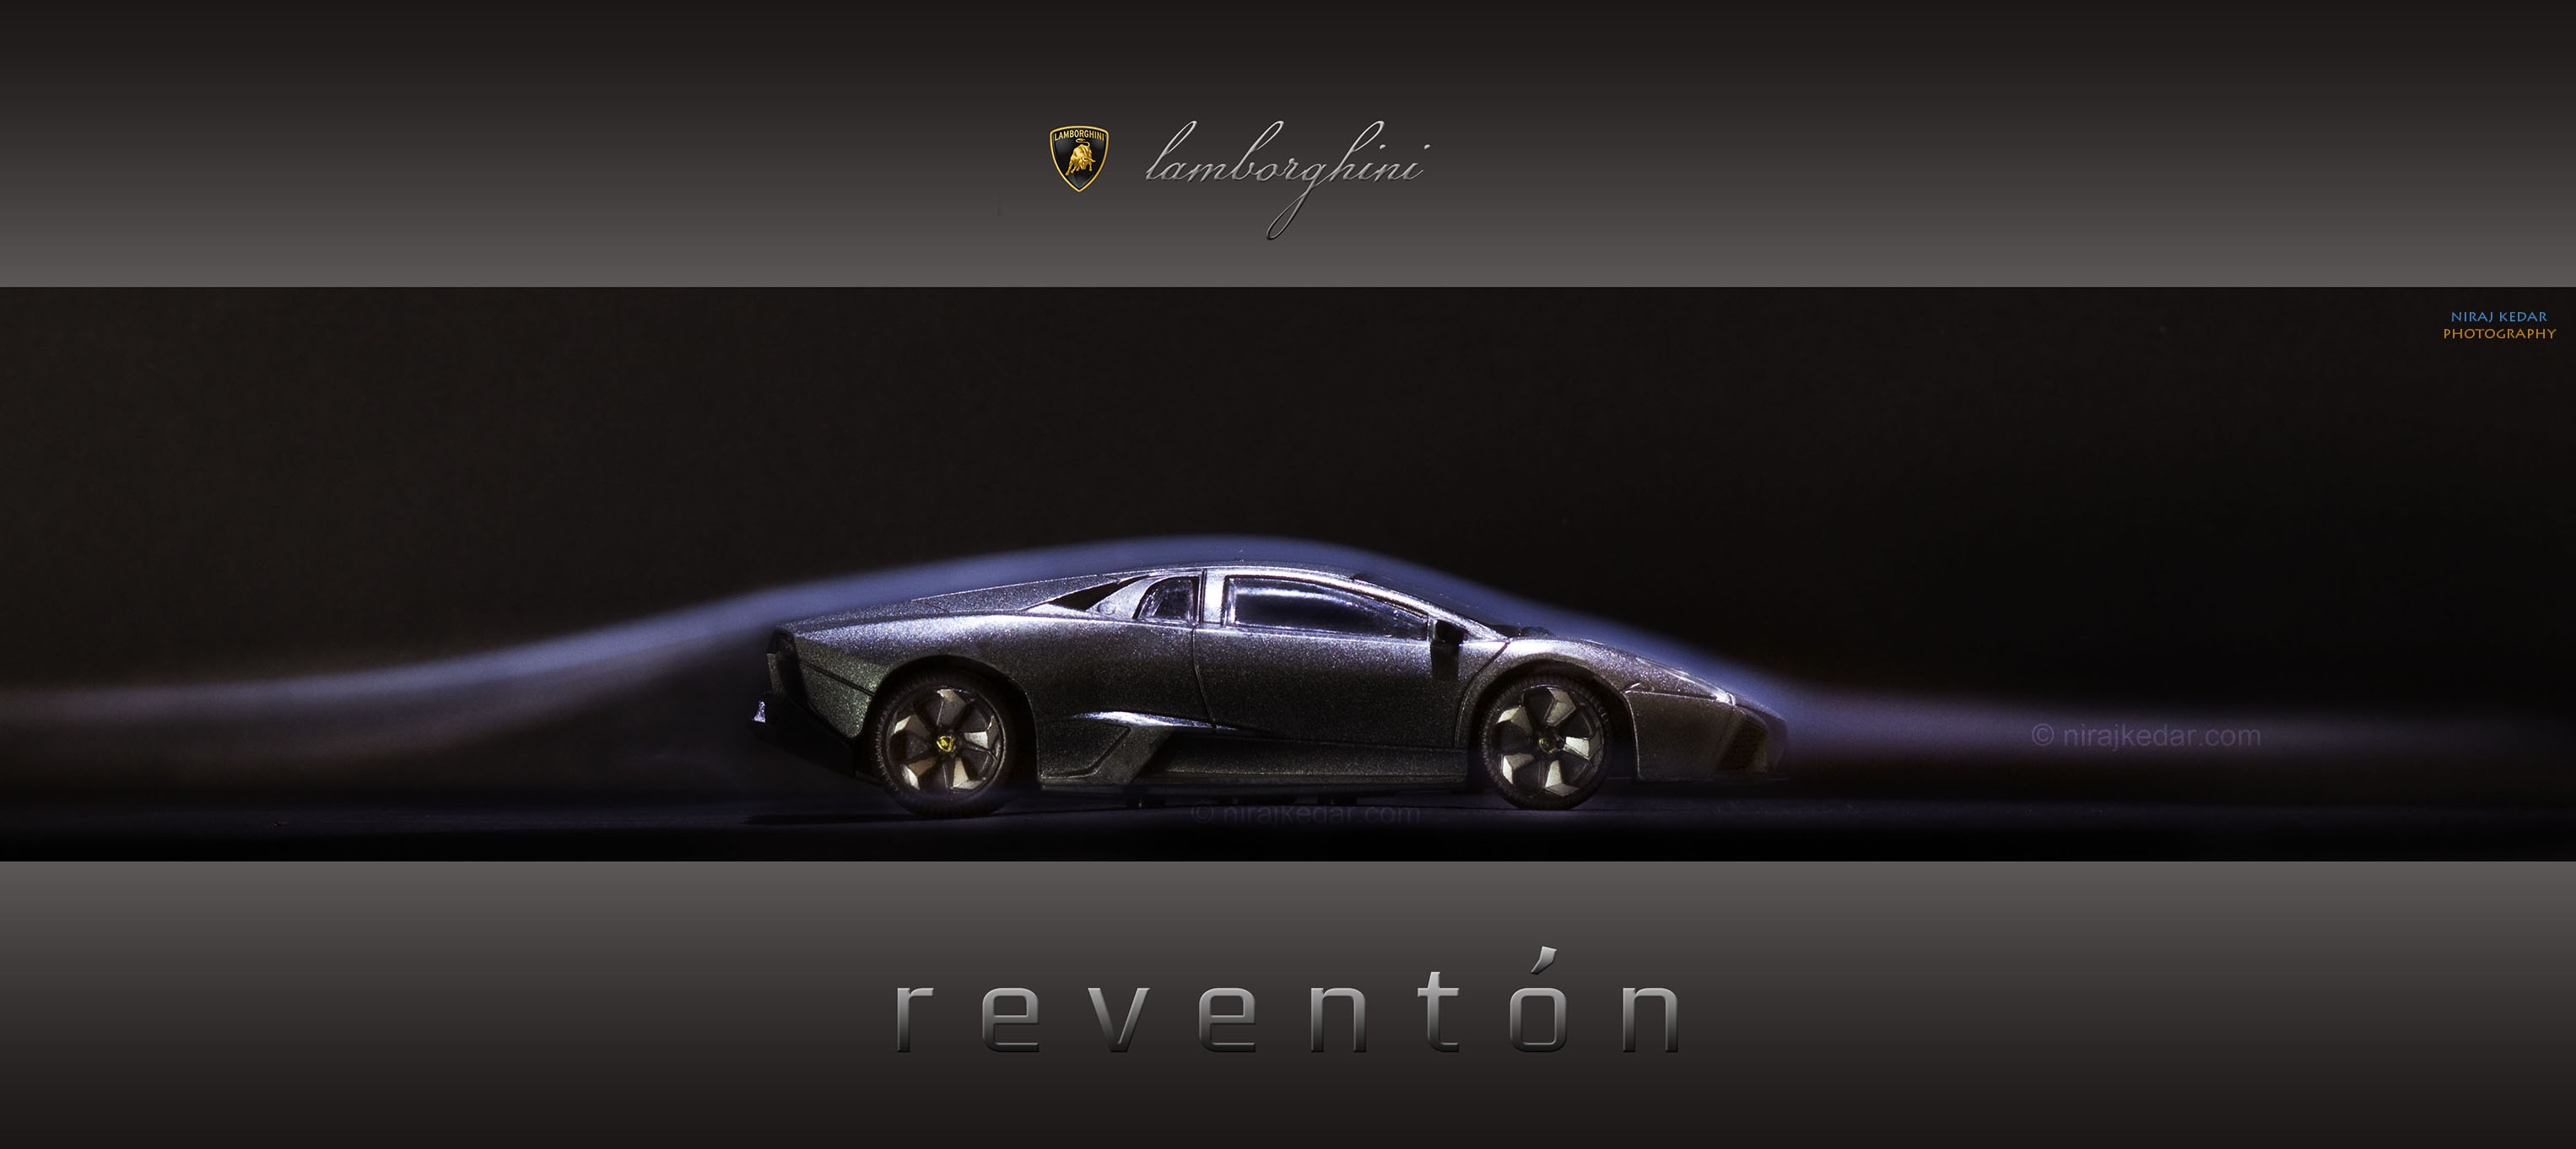
The last was by far the craziest one I have ever done. I wanted to show not so much of how masculine and futuristic the car looks, but its most vital characteristic :- its aerodynamics. How do I do that? Well just how the folks at Lamborghini would! place it in a wind tunnel. I needed a chamber, a fan to pull the air – just like in a wind tunnel and a smoke source. All these were feasible. The chamber can be built with cardboard, the fan can be any small fan that can pull air and the smoke source was incense sticks (aggarbatti in India). The main problem was to get enough suction by the fan to pull the smoke straight over the car, horizontally. That obviously wasnt possible with the stuff I had. So I decided to mount the whole setup vertically. Why? because smoke is warm and rises up. The chamber will hold the car vertically, nose pointing downwards. The car already had a mounting stand and that made all this possible. That solved part of the problem. The smoke will be rising over the car and the chamber will stop any ambient air currents from disturbing the smoke’s natural updraft. But could the smoke flow go over the nose, the bonnet, windshield, top and continue as a smooth flow DOWN along the rest of the car? I thought it would as the relative cooler area at the rear of the car would create a small amount of ‘vacuum’ when the warm smoke is moving upwards, and that would pull the smoke back along the car. I tested this theory and I was right. Now all I needed was to put the pieces together. I created the chamber out of black cardboard and an old shoe box. Heres how it all looked.

My Wind tunnel
The car was mounted to the side of the chamber. The smoke source was kept about 3 inches below for the smoke to develop into a smooth cohesive linear flow. I adjusted the source such that the smoke hits the nose of the car.
The camera was set for long exposures and the lighting was with a small led torch which I was handholding. I used the cable release to open the shutter and simultaneously pointed the torch from side below. As shown above.
After about 45 min, I got shots that I was satisfied with. Here is the final version. The blue hue is intentional.

Reventon - wind tunnel test
Conclusion:
I got the shots I had envisioned. I would say ‘almost’. The main issue was the body paint on the car which was pretty cheap quality and started to peel off with even slight handling. Also the quality of the paint made the lighting and post processing difficult. It had rather large flaky particles, which showed up pretty ugly in almost any kind of lighting. That is not at all obvious to the eyes when I bought it at the store… Cant help.
All in all a very good project; compelled me to think of new ideas, lighting solutions and ofcourse – I invented a new and economical way of building ‘wind tunnels’ :-). The car makers should be thankful to me for that..
~Niraj

Santhosh
brilliant!!
Niraj
Thanx Santhosh
Mahesh Venkateshwaran
Excellent photos ! You are a creative-pro now maan !
Should catch up sometimes (All L&T 13D main folks)
Mahesh
Niraj
Hey thanx Mahesh.. Yes, its long overdue.. we have to get working on a get-together..
Naveen
hi Niraj,
Great job man…good creativity and you have great potential…
keep up the good work.
Naveen
Niraj
Thanks Naveen, I appreciate…
suvro
Innovation at its level best.Impressive
Niraj
thanks Suvro, i appreciate
Subhrashis
Great job, and really good thinking outside the box to achieve your vision!
This is really inspiring!!!
Niraj
Thanks Subhrashis… glad u liked it
Arun
Creative excellence..!
Niraj
thanx Arun
Chetan
Niraj, I chanced upon your blog thru the BPC forum – and man, am now a fan of yours!
This is not just creativity at its best, but also is a reflection of your passion and zest to learn by experiment. Kudos to you…brilliant work
Niraj
Thanks for your time and words Chetan. It means a lot to me… Please do keep visiting…
Vinod
Brilliant! You could think about changing your profession! I mean it!
Niraj
thanx Vinod.. am planning to
J
Photoshop a real one in there. I dont think Lamborghini would mind.
Cool little set up though.